はじめに
大体3年ごとの冷却水(クーラントLLC)交換の時期が近付いてきたので、車検前に済ませてしまおうかと。
そのついでに、以前から懸念していたラジエーターのホースの交換作業を行うことに。
やはり10年以上経つとゴム類が劣化してくるのでね・・・。
ラジエーターホース以外に、近場のヒータインレットとヒーターアウトレットのホースも交換したかったのだけど、いかんせん古い車体なのもあり、なぜかヒーターアウトレットの部品価格が高すぎて躊躇・・(ホース1本で¥5,000ってオイ・・((+_+)))
ということで、やや中途半端だけど、ラジエーターのアッパーとロワーと、ヒーターインレットの合計3本のホースを新品に交換してみます。
素人カーDIYシリーズ。
ホース類交換は初めての作業なので、緊張です・・・
年月経つと固着してるらしいので、うまく外れるかな。。
作業ギャラリー
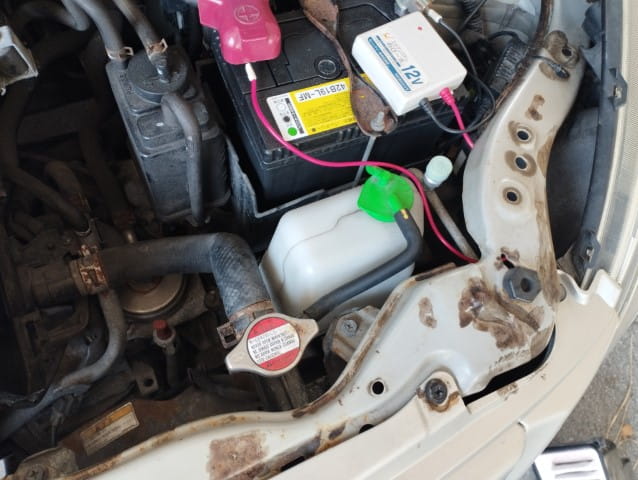
ホース交換


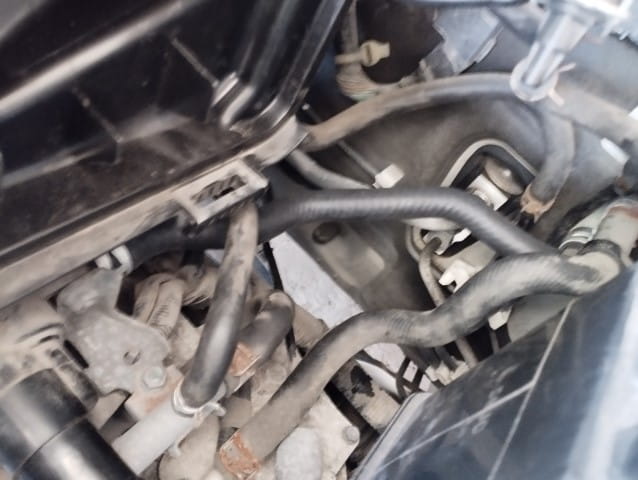
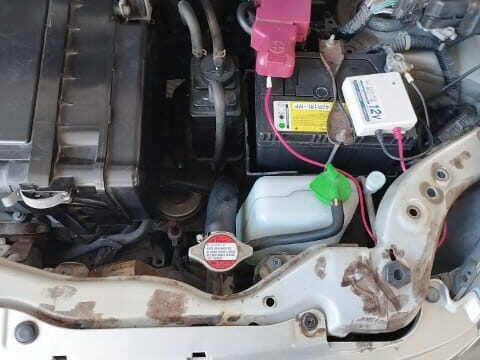
ヒーターインレットホースってどこだ?
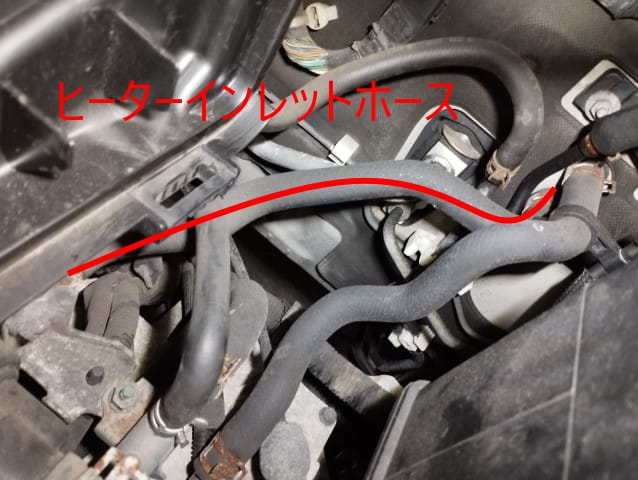
やや外しにくそう
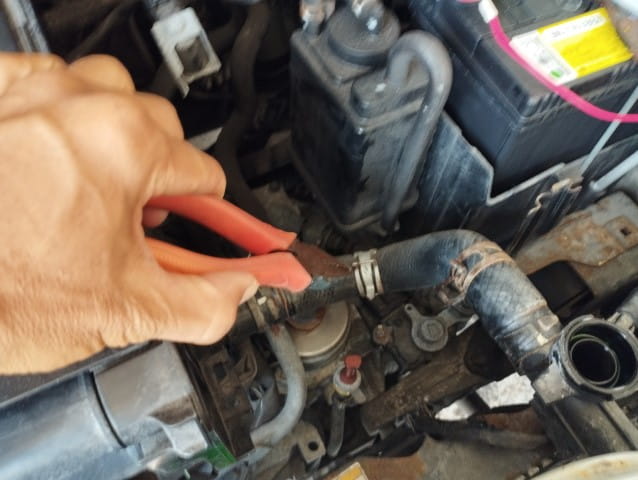

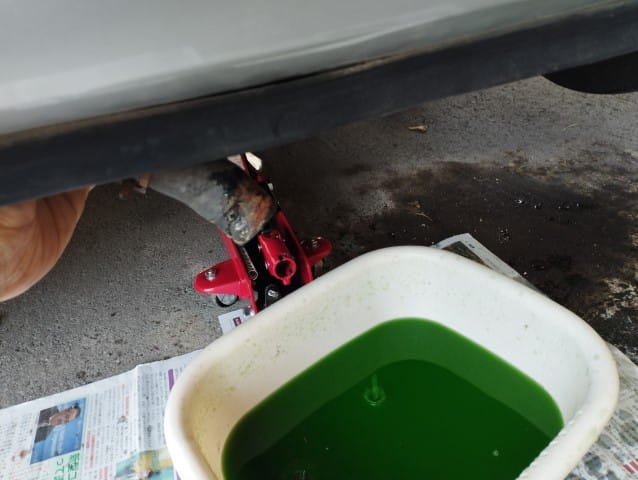
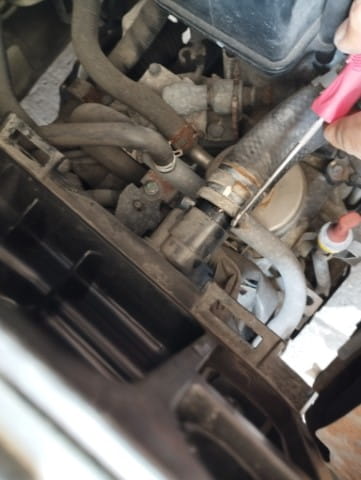
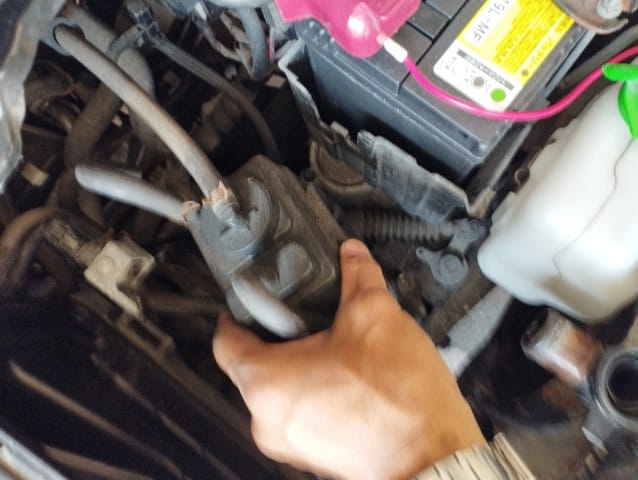
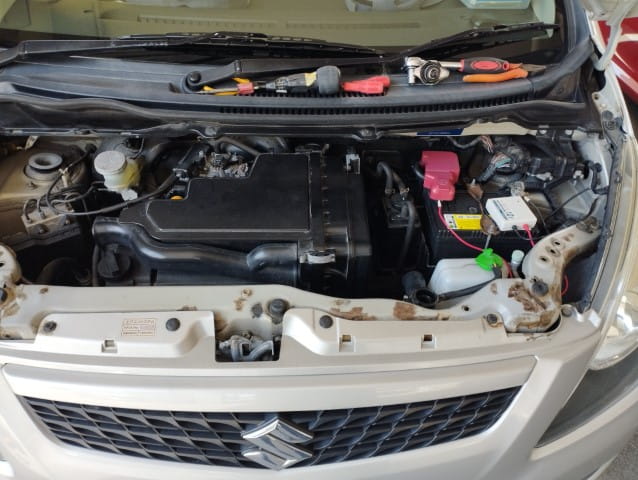
作業スペースが確保できる。
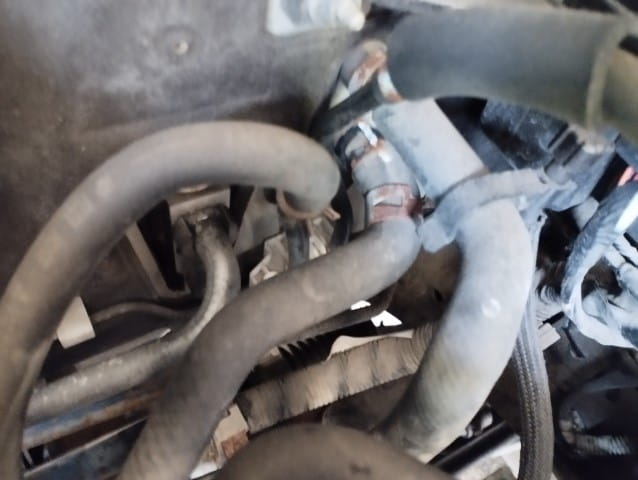
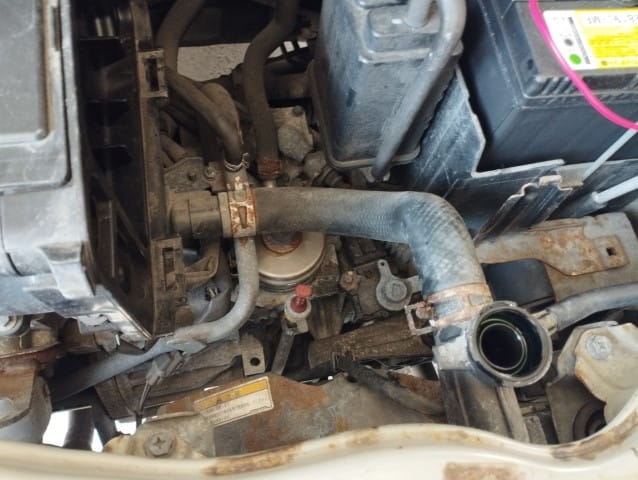
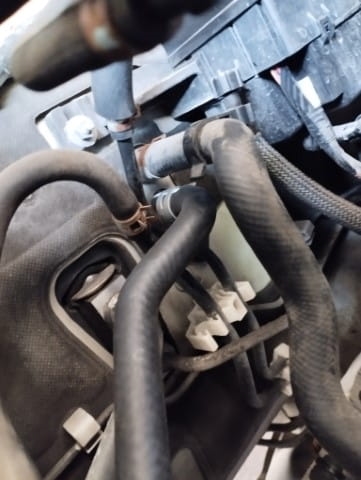
ラジオペンチを何とか突っ込んで外せた
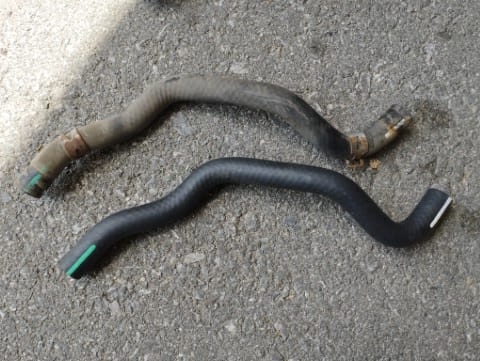
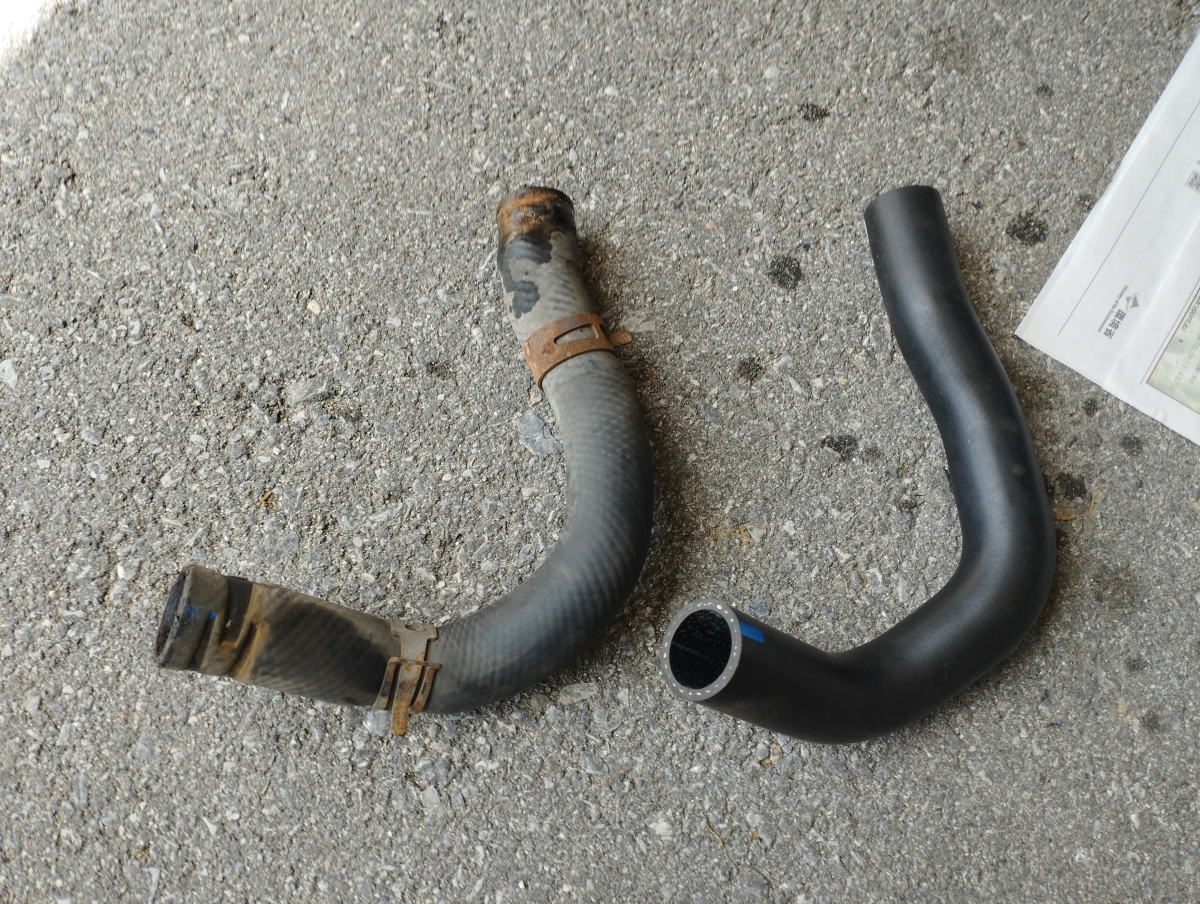
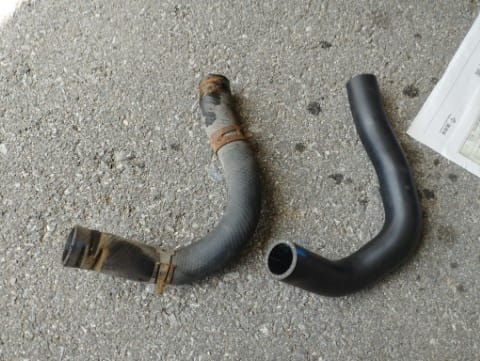
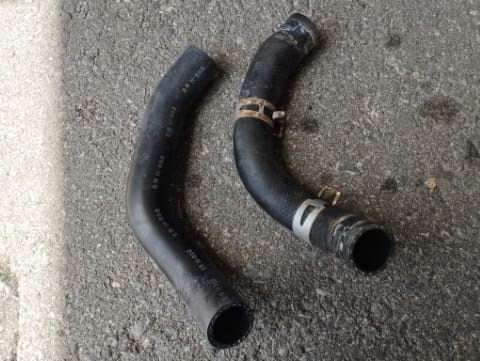
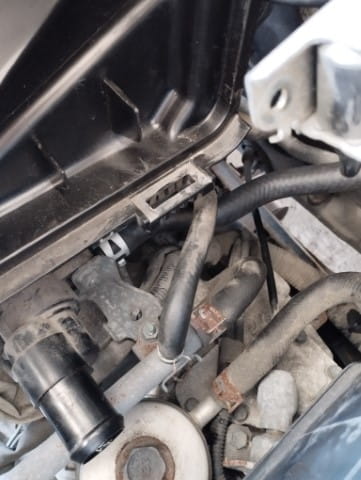
上が旧、下が新
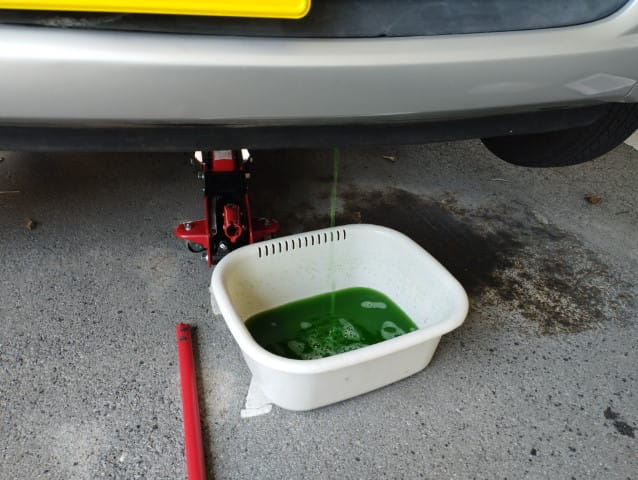
冷却水LLC交換
手順は前回の冷却水交換ページを参照。
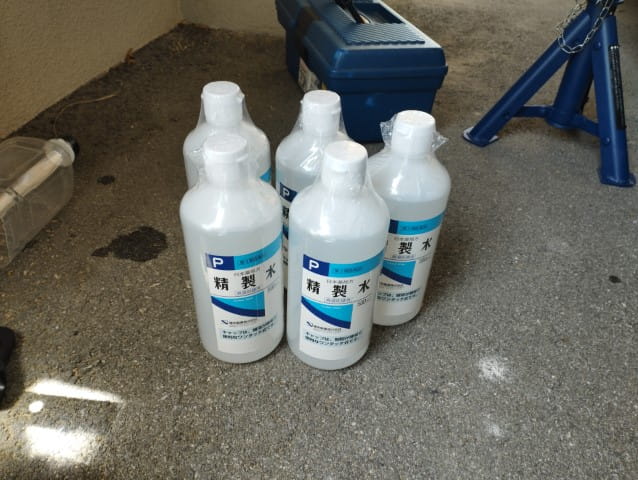
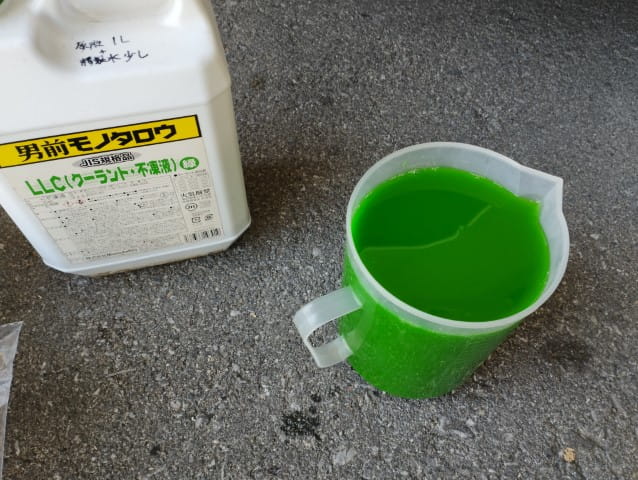
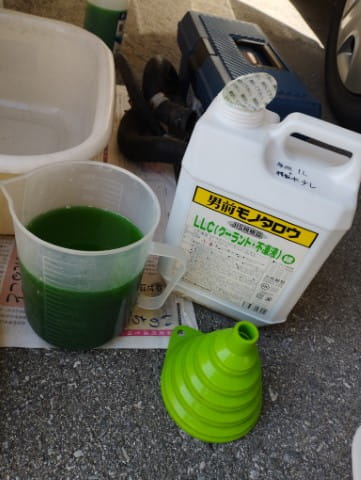
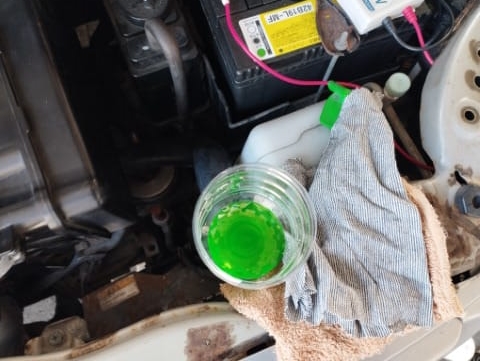
今回は小分けで計2.5Lを準備
あれ?ドレンキャップ開けたからかな
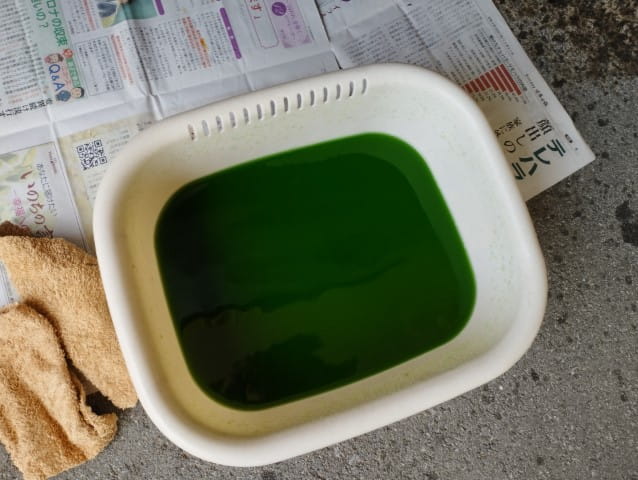
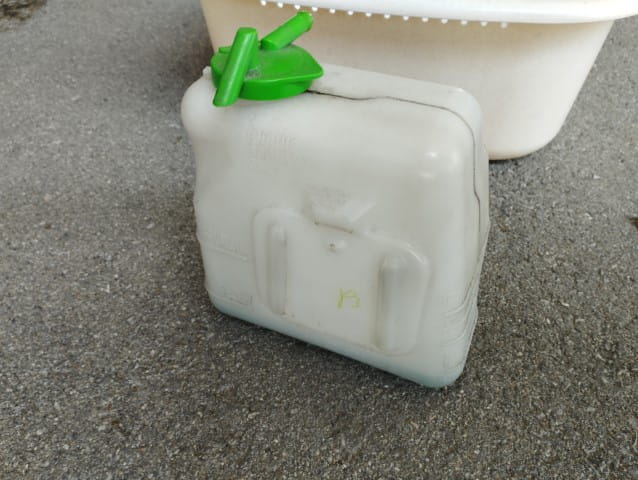
今回もまた使う(笑)
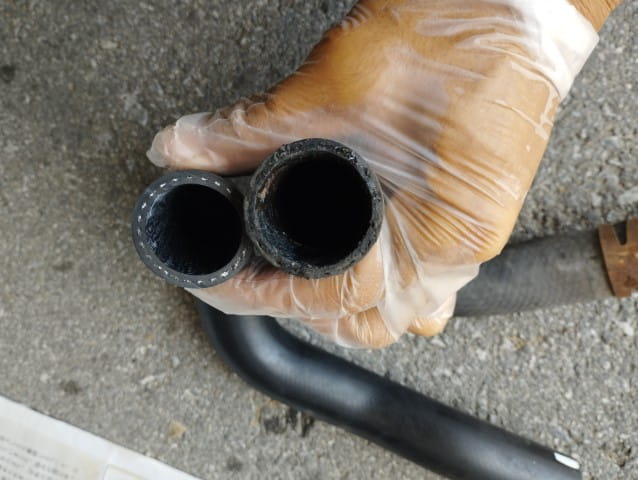
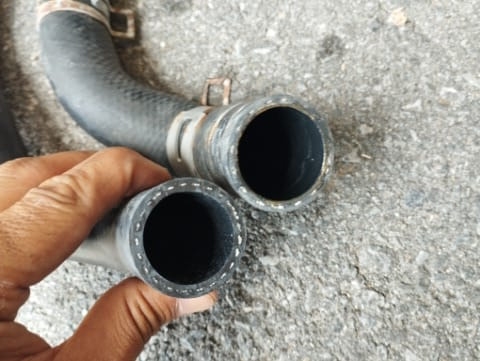
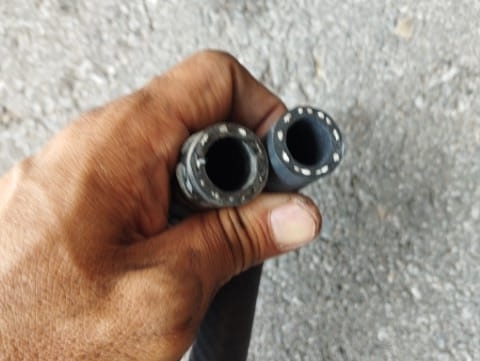
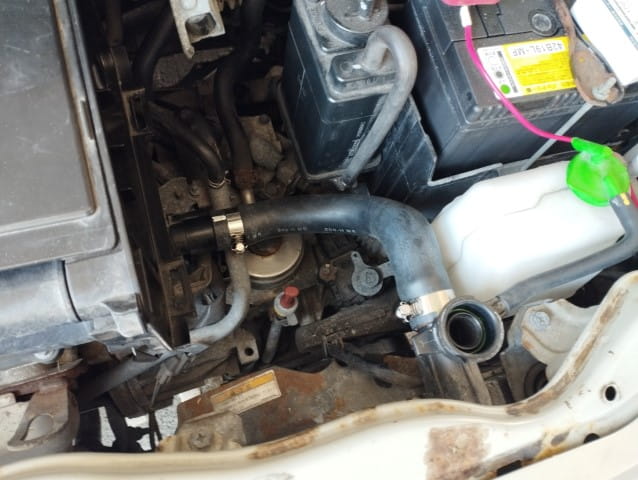
新品ホースは揉みやすいね(笑)
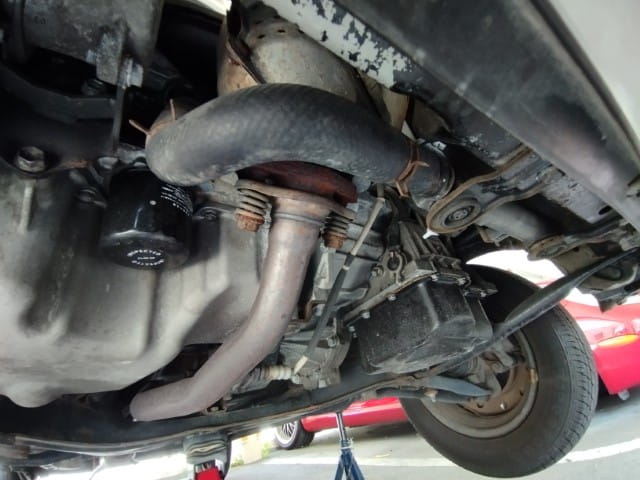
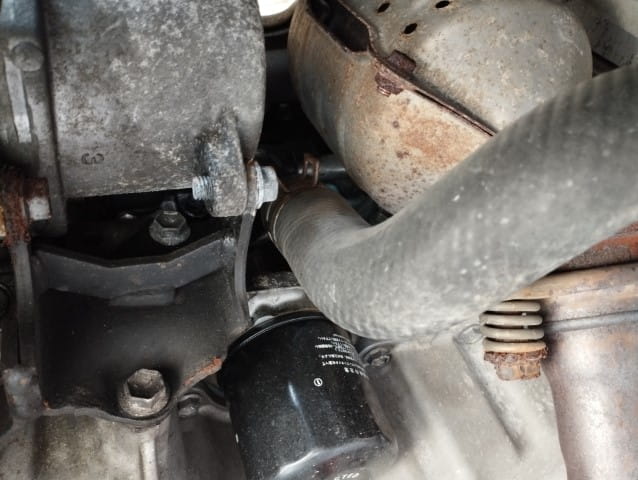
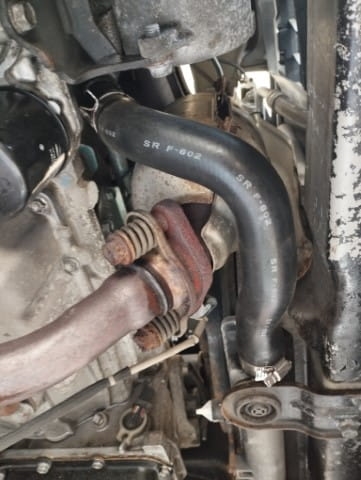
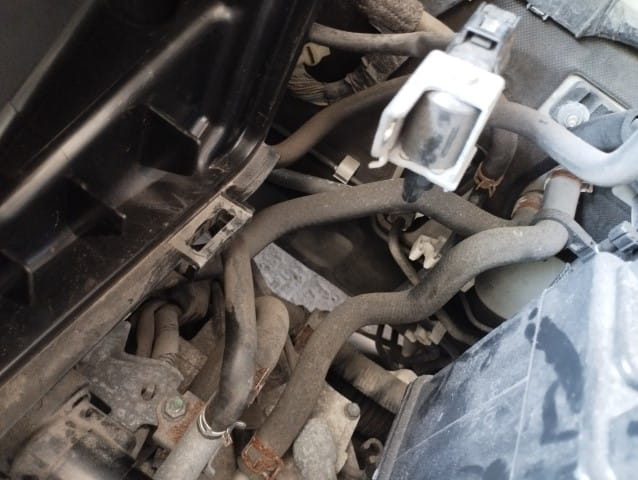
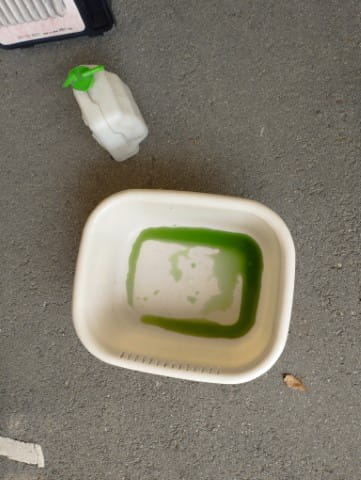
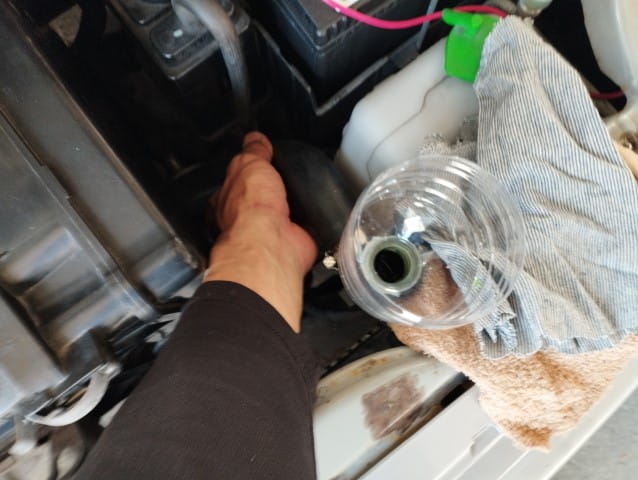
暖房エリアに冷却水を引き込む
作業を終えてみて
途中休憩を挟んだが、作業は延べ3時間くらい。
心配していた古いホースが固着して抜けないのではないか、という懸念は、ホースリムーバーの活躍で大きな負担なく抜けました。
やや手間取ったのは、新品ロアホースを付ける際、最初は上側にもネジ式のホースバンドを入れておいたのだけど、ホースを差し込んでみるとネジを閉めるためのスペースが狭い。
板ラチェもあるんだけど、何だか先のことを考えてしまって上側だけペンチ用の旧ホースバンドに付け替え。その付け替えに手間が掛かったかな。やろうと思えばできたのでネジ式のままでも良かったのかもしれないけど。
後の冷却水(クーラントLLC)交換作業は、3年ほど前に一度やったので、今回はスムーズにできました。やっぱり、一度経験しておくと後々ラクになるね。
ということで、各部ホースもクーラントも新品になって、気持ちもスッキリ!!
作業後に試運転して問題なし。
初めてのホース交換も、大きな問題なく成功。
やっぱり自分でやると楽しいね。
準備したものや主な道具
| 品物 | 価格 | 備考 |
|---|---|---|
| 新品ラジエーターホース_Upper | 約¥1,000 | |
| 新品ラジエーターホース_Lower | 約¥1,000 | |
| 新品ヒータインレットホース | 約¥1,000 | |
| ねじ式ホースバンド 4個 | ¥150/個 | ラジエーターホース用 |
| ホースバンド 2個 | ¥150/個 | ヒーターインレット用 |
| ホースリムーブプライヤー | 約¥800 | この作業のために準備 やっぱり持ってて良かった! 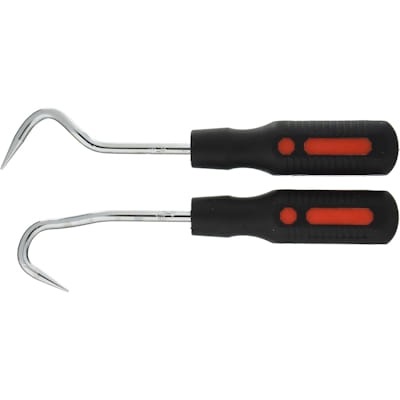 |
| ラジオペンチ ウォータープライヤー | ||
| LLC交換作業品一式 | ※以前の記事を参照 | |

コメント